We may earn money or products from the companies that may be mentioned in this post.
Whether you’re a beginner or a seasoned artist, learning how to draw a golf ball can be an enjoyable and rewarding experience. In this step-by-step guide, you will be taken through the process of creating a stunning and realistic golf ball on paper. From capturing its dimples and shine to achieving the perfect shading and texture, this article will provide you with all the necessary techniques and tips to bring your golf ball drawing to life. So grab your pencil and let’s get started on this artistic journey!

Materials Needed
To draw a golf ball, you will need a few materials to get started. Here’s a list of what you’ll need:
Pencil
A pencil is essential for sketching and creating the initial shape of the golf ball. Make sure you have a sharp pencil for precise lines.
Eraser
Mistakes happen, especially when you’re learning how to draw. Keep an eraser handy to correct any errors and make adjustments as needed.
Drawing paper
Choose a smooth and sturdy drawing paper that can withstand pencil sketches and blending techniques. It’s important to have a surface that allows for smooth strokes and clean lines.
Ruler
A ruler will be useful for drawing straight lines and ensuring accurate proportions. It’s particularly helpful when adding the dimples to the golf ball.
Compass
A compass will help you create a perfect circle for the base shape of the golf ball. This tool ensures that your initial shape is well-proportioned.
Coloring materials
To add color and depth to your golf ball drawing, you’ll need coloring materials such as colored pencils, markers, or pastels. Choose the appropriate colors to bring your drawing to life.
Now that you have all the materials ready, let’s move on to the step-by-step process of drawing a golf ball.
Step 1: Draw the Basic Shape
To begin drawing a golf ball, you’ll want to start with the basic shape. Here’s how to do it:
Start with a circle
Use a compass to draw a perfect circle in the center of your paper. This circle will serve as the base shape of your golf ball. Make sure it’s neither too small nor too large, as proportions are crucial for a realistic-looking drawing.
Add a curved line
Next, add a slightly curved line across the center of the circle. This line will represent the seam of the golf ball. Ensure that the curve is gentle and smooth to mimic the actual appearance of a golf ball.
Step 2: Draw the Details
After establishing the basic shape, it’s time to add the intricate details that make the golf ball unique.
Sketch the dimples
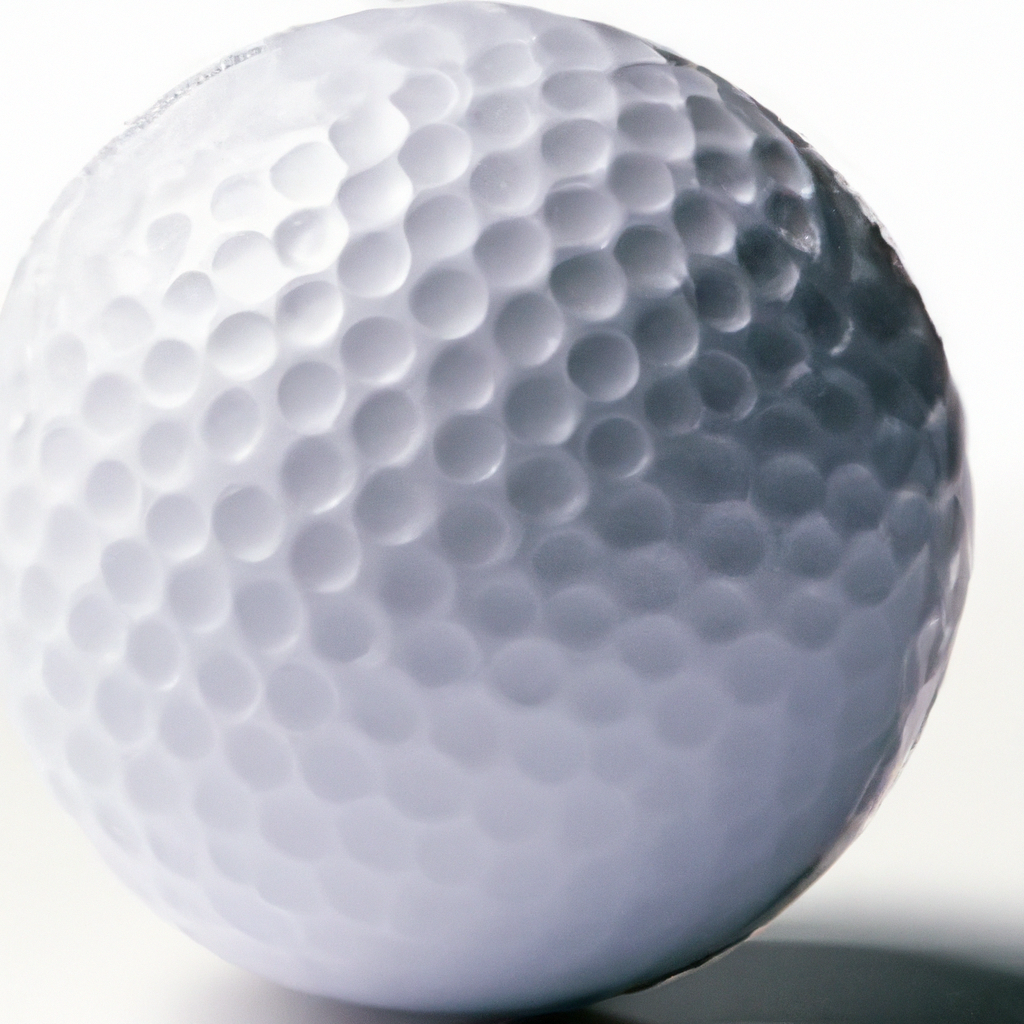
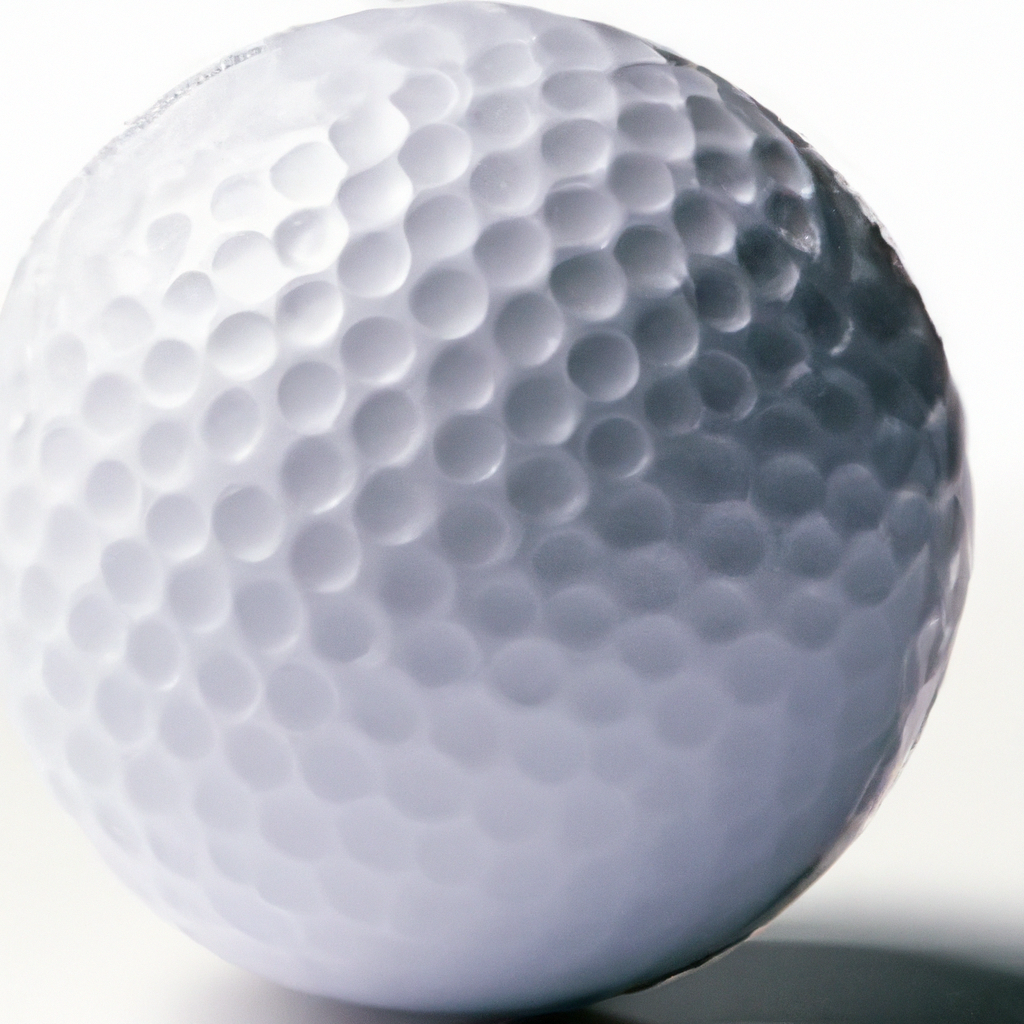
Golf balls are covered in small dimples, which help with aerodynamics. Use your pencil to lightly sketch these dimples all over the surface of the ball. Take your time and evenly distribute them for a natural look. Remember, these dimples should be small and circular.
Add shading to create depth
To make your golf ball drawing more realistic, add some shading. Observe the light source in your drawing and lightly shade one side of each dimple to create depth and dimension. Use your pencil to blend the shading gently, ensuring a smooth transition between light and dark areas.
Step 3: Add Realism
To make your golf ball drawing truly realistic, focus on adding highlights, reflections, and shadows.
Add highlights and reflections
Identify the main light source in your drawing and lightly shade the opposite side of each dimple. This will create highlights and reflections that mimic the way light interacts with the golf ball’s surface. Be subtle with the shading to achieve a natural effect.
Create shadows
Shadows play a crucial role in creating three-dimensional drawings. Observe the direction of the light source and add shadows accordingly to the opposite side of the golf ball. Use your pencil to lightly shade and blend the shadows, ensuring they are not too overpowering.
Step 4: Add Color
Now it’s time to add some color to your golf ball drawing. Choose colors that closely resemble the actual appearance of a golf ball.
Choose the appropriate colors
Select shades of white, gray, and light blue for the golf ball’s base color. You can also use light brown or yellow for a slightly aged look. Experiment with different shades to find the perfect combination.
Color the ball using shading and blending techniques
Using your chosen coloring materials, carefully color in the golf ball’s surface. Apply light layers of color, gradually building up the tones to create a realistic effect. Pay close attention to the shading and blending techniques to achieve a smooth transition between the different shades.
Step 5: Add Background
To enhance your golf ball drawing and give it context, it’s important to add a background.
Draw a golf tee
Start by drawing a simple golf tee beneath the golf ball. Use straight lines to create the tee, ensuring that it’s proportionate to the size of the golf ball.
Add a golf course or landscape
To create a more dynamic scene, consider adding a golf course or landscape as the background. Draw rolling hills, trees, or even a golf course flag to complete the overall composition. Add details sparingly, focusing on creating depth and perspective.
Step 6: Final Touches
With the main elements in place, it’s time to refine the details and add final touches to your golf ball drawing.
Refine the details
Take a step back and assess your drawing as a whole. Look for any areas that need refinement or adjustment. Use your eraser to correct any mistakes, sharpen up lines, or make minor adjustments to achieve the desired result.
Add texture to the ball
To add texture and realism to your golf ball drawing, consider using various techniques. You can create a textured effect by gently scribbling lines throughout the surface of the ball. Be subtle with your strokes and blend as needed to achieve a natural look.
Tips
Here are a few tips to keep in mind while drawing a golf ball:
Practice basic shapes before attempting the golf ball
Before diving into drawing a golf ball, practice drawing circles and curved lines to enhance your control and precision. This will help you create a more accurate base shape for the golf ball.
Refer to reference images for accuracy
To ensure accuracy in your drawing, refer to reference images of golf balls. Pay attention to the placement of dimples, highlights, and shadows. Use these references as a guide to achieving a realistic representation.
Experiment with different drawing techniques
Don’t be afraid to experiment with different drawing techniques to achieve unique effects. Play around with different shading techniques, blending methods, and coloring materials. This experimentation will help develop your artistic skills and style.
Common Mistakes to Avoid
When drawing a golf ball, there are a few common mistakes you’ll want to avoid:
Drawing the ball too small or too big
Ensure that the proportions of the golf ball are accurate. Avoid drawing a ball that is too small or overly large, as it will not appear realistic.
Incorrect placement of the dimples
Pay close attention to the placement of the dimples on the golf ball. Dimples should cover the entire surface and follow a consistent pattern.
Overcomplicating the shading
Shading is important to create depth and dimension, but be mindful not to overcomplicate it. Keep your shading subtle and smooth to achieve a natural-looking golf ball.
Conclusion
Drawing a golf ball requires attention to detail, practice, and patience. By following this step-by-step guide and employing the tips and techniques provided, you can create realistic and impressive golf ball drawings. Remember to start with the basic shape, add details and shading, and enhance the drawing with color and background elements. Keep practicing and experimenting to refine your skills, and soon you’ll be able to create golf ball drawings that capture the essence and beauty of this iconic sports accessory.
