We may earn money or products from the companies that may be mentioned in this post.
Imagine you’re out on the lush green fairways, eagerly preparing for a day of golfing with friends. As you reach for your golf cart keys, you come to a dreaded realization – the batteries are dead! Don’t fret, as I’m here to guide you through the simple yet effective steps to revive those lifeless golf cart batteries. In this article, you’ll discover the secrets to bringing your dead batteries back to life and uncover the joy of uninterrupted golfing adventures. So, prepare to say goodbye to frustrating power outages and hello to endless hours of smooth rides on the golf course.

1. Understanding Golf Cart Batteries
What are golf cart batteries?
Golf cart batteries are specialized batteries designed to provide power for electric golf carts. They are typically deep-cycle batteries, which means they are designed for long, slow discharges over time. This is essential for powering the electric motors in golf carts, as they require consistent and sustained power output.
Types of golf cart batteries
There are two main types of golf cart batteries: lead-acid batteries and lithium-ion batteries. Lead-acid batteries are the most common and affordable option, while lithium-ion batteries offer advantages in terms of weight, lifespan, and efficiency. The choice between the two depends on individual preferences and budget considerations.
Importance of maintaining golf cart batteries
Proper maintenance of golf cart batteries is essential for ensuring their longevity and optimal performance. Regular maintenance helps prevent premature battery failure, improves overall battery life, and enhances the performance of the golf cart. Neglecting battery maintenance can lead to diminished performance, decreased range, and ultimately the need for battery replacement.
2. Signs of Dead Golf Cart Batteries
Dim or no lights
One of the most common signs of a dead golf cart battery is dim or no lights. If you notice that the headlights, taillights, or any other electric accessories on your golf cart are considerably dimmer or do not work at all, it may be an indication of a dying or dead battery.
Slow or no acceleration
If your golf cart is experiencing sluggish or reduced acceleration, it could be a sign of dead batteries. The lack of sufficient power from the batteries can result in slower speeds and decreased performance. If your golf cart is struggling to climb hills or feels unusually sluggish, it may be time to check the battery health.
Clicking or no sound when starting
When you attempt to start your golf cart and hear a clicking noise or no sound at all, it is likely that your batteries are dead or nearly dead. This indicates that the battery voltage is too low to power the electric motor, preventing the cart from starting. It is important to address this issue promptly to prevent further damage to the batteries.
Battery gauge shows low charge
Most golf carts are equipped with a battery gauge that indicates the charge level of the batteries. If the battery gauge consistently shows a low charge, even after a full charge, it could be a sign of dead or failing batteries. This indicates that the batteries are no longer holding a charge effectively and may need to be replaced or revived.
Golf cart not holding a charge
If your golf cart’s batteries are unable to hold a charge for a sufficient period, it is a clear indication of dead or dying batteries. Even after a full charge, if the batteries quickly lose their charge or are unable to provide the expected range, it is a strong indication that the batteries need attention or replacement.
3. Basic Maintenance for Golf Cart Batteries
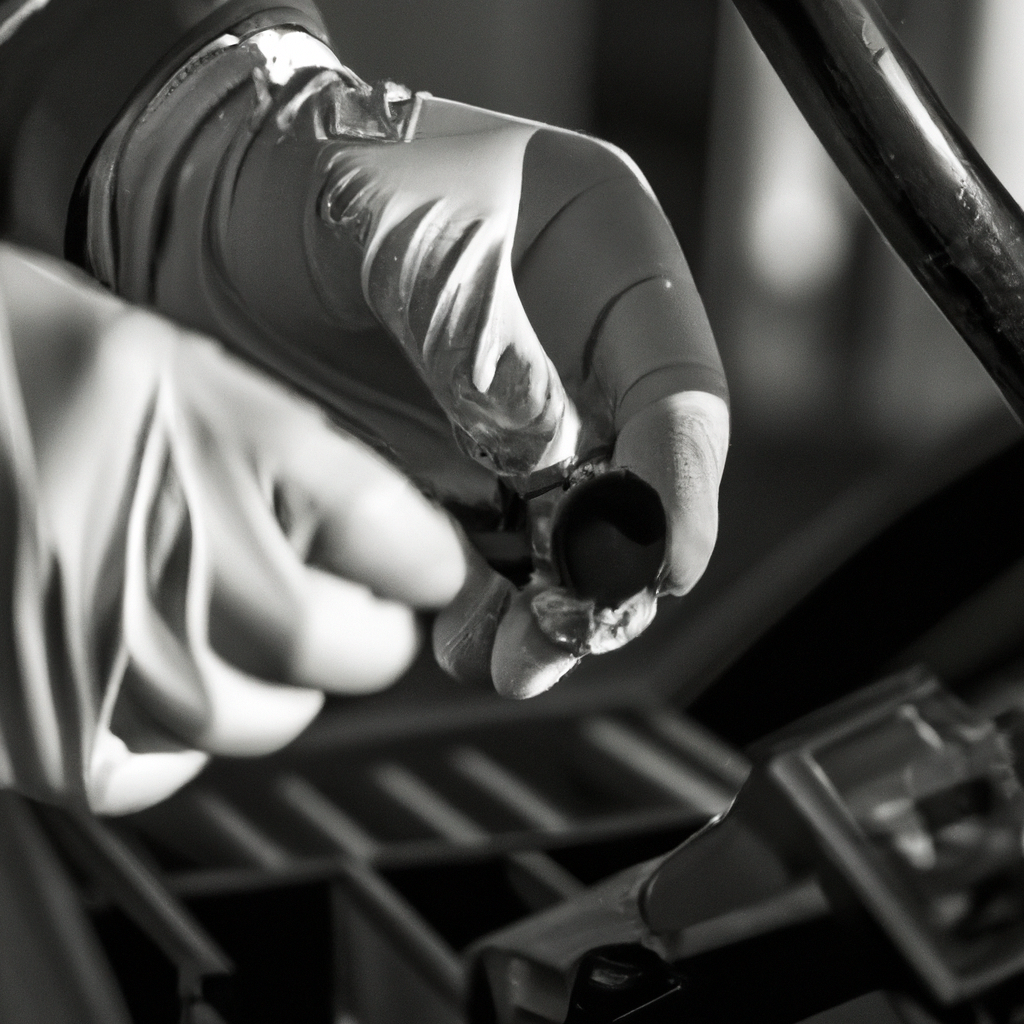
Regular cleaning of battery terminals
To maintain optimal battery performance, it is important to regularly clean the battery terminals. Over time, corrosion and dirt can build up on the terminals, hindering the flow of electricity. Using a mixture of baking soda and water, gently clean the terminals with a wire brush or battery terminal cleaner. This helps ensure a clean connection and prevents any potential loss of power.
Checking and refilling electrolyte levels
For lead-acid golf cart batteries with removable caps, it is crucial to regularly check the electrolyte levels. Ensure the battery is properly charged before removing the caps. If the electrolyte levels are low, carefully add distilled water to bring them up to the recommended level. Avoid overfilling, as it can lead to electrolyte overflow during charging.
Inspecting and replacing damaged cables
Regularly inspect the battery cables for any signs of damage or corrosion. Damaged cables can impede the flow of electricity and affect battery performance. If you notice any frayed wires, corrosion, or loose connections, it is important to replace or repair the cables promptly to maintain optimal battery function.
Maintaining proper water levels
In addition to checking electrolyte levels, it is essential to maintain proper water levels in lead-acid golf cart batteries. If the water levels are too low, the battery plates may become exposed, leading to reduced battery life and performance. Regularly check the water levels and add distilled water as necessary to keep the cells adequately submerged.
4. Charging Dead Golf Cart Batteries
Using a golf cart charger
Charging dead golf cart batteries requires the use of a compatible golf cart charger. It is recommended to invest in a charger specifically designed for golf cart batteries to ensure optimal charging and prevent any potential damage. Using the wrong charger can lead to overcharging or undercharging, affecting battery performance and longevity.
Steps for proper charging
To charge dead golf cart batteries properly, follow these steps:
- Ensure the golf cart charger is unplugged and turned off.
- Connect the charger’s cables to the positive and negative terminals of the golf cart batteries.
- Once connected, plug in the charger and turn it on.
- Allow the charger to complete its charging cycle. The duration will vary depending on the charger and the state of the batteries.
- Once the charging cycle is complete, unplug the charger and disconnect the cables from the batteries.
Time required for fully charging
The time required to fully charge dead golf cart batteries depends on several factors, including the charger’s capacity and the condition of the batteries. In general, it can take anywhere from a few hours to overnight to complete a full charge. It is important to refer to the manufacturer’s instructions and recommendations for the specific charger being used.
Preventing overcharging
Overcharging golf cart batteries can lead to decreased battery life and potential damage. To prevent overcharging, it is essential to use a charger with an automatic shut-off feature. This feature detects when the batteries are fully charged and automatically stops the charging process. It is also advisable to monitor the charging progress and avoid leaving the batteries connected to the charger for extended periods after they reach a full charge.
5. Using a Battery Desulfator to Revive Dead Golf Cart Batteries
Understanding battery sulfation
Battery sulfation refers to the accumulation of lead sulfate crystals on the battery plates, which occurs naturally over time. Excessive sulfation can diminish battery performance and capacity. Reviving dead golf cart batteries often involves addressing this sulfation buildup.
How a battery desulfator works
A battery desulfator is a device designed to break down and dissolve the lead sulfate crystals that contribute to battery sulfation. By emitting high-frequency pulses or waves into the battery, the desulfator helps to reverse and reduce the sulfation process. This can potentially revive dead or deeply discharged golf cart batteries and improve their overall performance.
Steps for using a battery desulfator
To use a battery desulfator to revive dead golf cart batteries, follow these steps:
- Ensure the golf cart batteries are disconnected from the cart and any charging sources.
- Connect the battery desulfator to the batteries’ positive and negative terminals, adhering to the device’s instructions.
- Activate the battery desulfator by turning it on or following the provided guidelines.
- Allow the desulfator to work on the batteries for the recommended duration.
- Once the recommended time has passed, disconnect the desulfator and reconnect the batteries to the golf cart.
- Proceed with charging the batteries using a compatible golf cart charger.
It is important to note that while a battery desulfator can help revive dead batteries in some cases, it may not be effective for severely damaged or aged batteries.