We may earn money or products from the companies that may be mentioned in this post.
So you’re eager to improve your golf game and want to ensure that your clubs are properly fitted to your unique measurements. One critical measurement that often gets overlooked is the wrist-to-floor length, which can greatly impact your swing and overall performance. In this step-by-step guide, we will walk you through the process of accurately measuring your wrist-to-floor length for golf, providing you with the knowledge and confidence to make informed club purchases. Whether you’re a seasoned golfer or just starting out, understanding and optimizing this measurement can make a world of difference in your game. So grab a tape measure and let’s get started!
A Step-by-Step Guide: How to Measure Your Wrist-to-Floor Length for Golf
If you’re a golf enthusiast looking to improve your game, one of the key aspects to consider is having the right golf club length. Finding a club that matches your height and swing can significantly impact your performance on the course. One method to determine the appropriate club length for you is by measuring your wrist-to-floor length. In this step-by-step guide, we will outline the process of measuring your wrist-to-floor length accurately. So let’s get started!

Step 1: Prepare the Necessary Tools
Before you begin measuring your wrist-to-floor length, it’s essential to gather a few tools to ensure accurate results. You’ll need the following items:
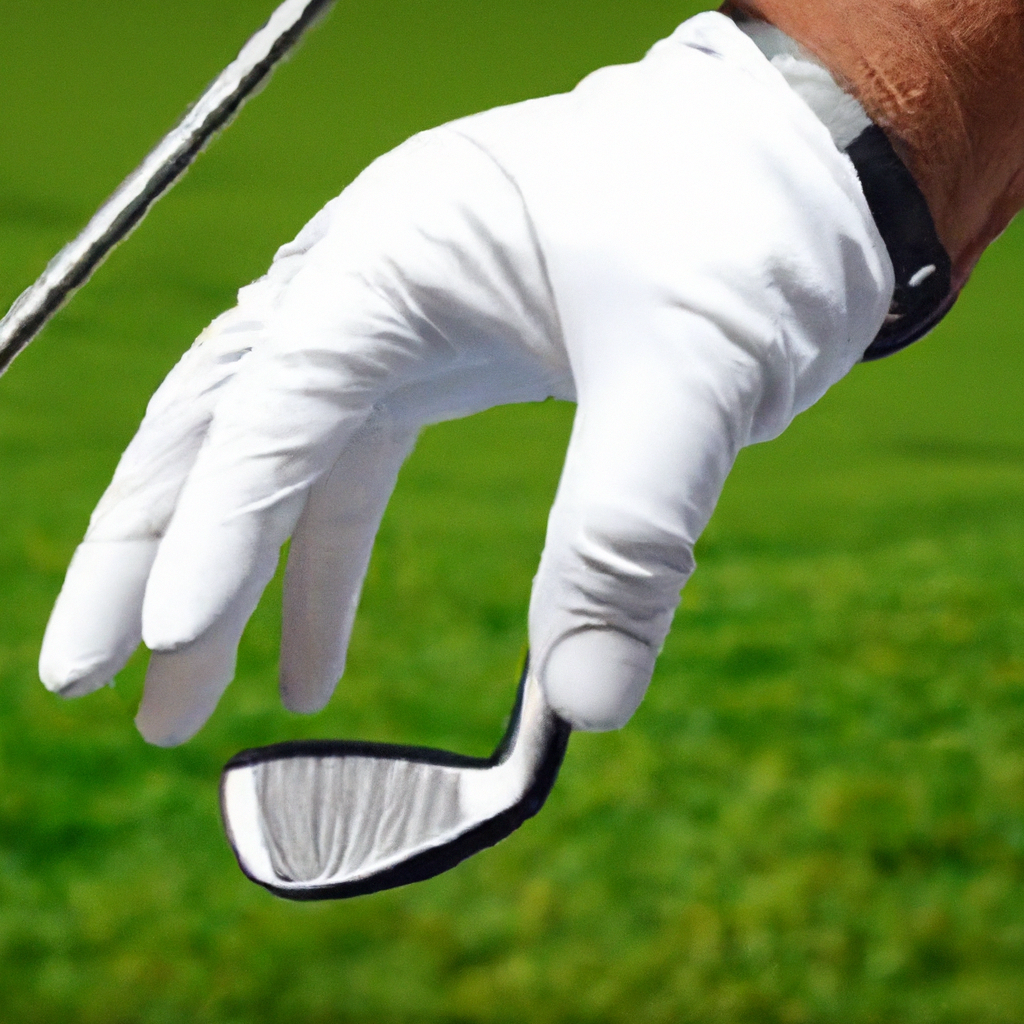
Golf club
Start by grabbing one of your golf clubs. It’s best to choose a club that you feel comfortable swinging, such as your favorite iron or hybrid.
Ruler or measuring tape
A ruler or measuring tape will come in handy when measuring the distance from your wrist to the floor. Make sure it’s long enough to provide an accurate measurement.
Pen or pencil
Having a pen or pencil nearby will allow you to jot down your measurements for future reference.
Sheet of paper
Grab a sheet of paper to write down your wrist-to-floor measurements. This will help you keep track of your findings and compare them to the standard club sizing charts later on.
Step 2: Find a Flat Surface
Once you have your tools ready, it’s time to find a suitable flat surface to stand on and take your measurements. It’s essential to choose an area that offers stability and enough space for your golf club.
Clear a tabletop or countertop
Clearing a tabletop or countertop can provide an ideal flat surface for this task. Ensure that the area is free from any objects that may obstruct your movements.
Ensure the surface is level and uncluttered
To obtain accurate measurements, it’s crucial to work on a level surface. Remove any items that may cause instability or impede your ability to stand straight during the measurement process.
Step 3: Assume the Correct Posture
Now that you have a proper workspace, let’s focus on assuming the correct posture to ensure accurate measurements.
Stand straight with feet shoulder-width apart
Position yourself near the edge of the flat surface with your feet shoulder-width apart. Distributing your weight evenly on both feet will help maintain stability throughout the measurement process.
Relax your arms by your sides
To get an accurate measurement, it’s essential to relax your arms completely. Allow them to hang naturally by your sides, ensuring there is no tension in your shoulders or hands.
Maintain a natural posture without slouching
Keep your posture in a natural position, avoiding any slouching or exaggerated postures. Maintaining a relaxed and straight posture is essential to obtain consistent and reliable measurements.

Step 4: Hold the Golf Club
With your posture in check, it’s time to grab your golf club and ensure a proper grip.
Grip the club with both hands
Hold the golf club with both hands, placing them comfortably around the handle. Find a grip that feels natural to you, allowing for a secure hold without straining your hands or wrists.
Place your palms around the handle
Position your palms around the handle of the golf club, making sure they are aligned evenly. Placing both hands in a comfortable position will contribute to consistent measurements.
Ensure a comfortable, but firm grip
While it’s crucial to have a comfortable grip on the club, it’s equally important to ensure a firm hold. Avoid gripping the club too tightly, as this may introduce unnecessary tension into your swing.
Step 5: Position the Clubhead
Now that you have the club in hand, let’s move on to positioning the clubhead correctly.
Rest the clubhead on the floor
Place the clubhead on the floor while keeping a grip on the handle. Ensure that the shaft is in an upright position, perpendicular to the ground.
Align it parallel to your body
Align the clubhead parallel to your body by keeping it in line with your feet. This alignment will help you obtain an accurate measurement by ensuring consistent placement during the process.
Ensure the clubface is square to the target
Check that the clubface is square to the target, meaning it is neither open nor closed. A square clubface position will provide a more precise measurement, allowing for better club fitting accuracy.
Step 6: Measure the Distance
With your golf club properly positioned, it’s time to measure the distance from your wrist to the floor.
Place the end of the ruler or measuring tape on the floor
Take the end of the ruler or measuring tape and place it on the floor, ensuring it is stable and secure.
Align it vertically with the inside of your lead wrist
Bring the ruler or measuring tape vertically towards your lead wrist, ensuring it is aligned with the inside of your wrist. The inside of your wrist should be in contact with the measuring tool.
Hold it straight up to touch your wrist lightly and record the measurement
Hold the ruler or measuring tape straight up until it gently touches your lead wrist. Make sure not to press too hard, as this may skew your measurement. Once the ruler is in position, read the measurement and record it on your sheet of paper.
Step 7: Record the Measurement
Take a moment to write down the wrist-to-floor measurement you obtained from Step 6. Ensure that you note whether the measurement is in inches or centimeters for future reference.
Step 8: Repeat for Accuracy
To enhance the accuracy of your measurement, it’s recommended to perform the process two or three times and take the average of your findings.
Perform the measurement two or three times
Repeat Steps 6 and 7 two or three more times to obtain additional measurements. This repetition will help eliminate any inconsistencies and ensure that you have reliable data.
Take the average of the measurements for added precision
After you’ve completed multiple measurements, calculate the average value by adding all the measurements together and dividing by the total number of measurements performed. This average will provide a more precise wrist-to-floor length for your club fitting process.
Step 9: Compare to Standard Club Sizing Charts
Now that you have your wrist-to-floor measurements, it’s time to compare them to standard club sizing charts to determine the appropriate club length for your swing.
Find a golf club fitting chart online or consult a professional club fitter
Search for a golf club fitting chart online, as many reputable golf websites provide comprehensive charts for club sizing. Alternatively, you can consult a professional club fitter who will have the expertise to guide you through the club selection process.
Match your wrist-to-floor measurement to the appropriate club length
Refer to the club sizing chart and identify the club length that corresponds to your wrist-to-floor measurement. This will provide valuable insights into the ideal club length that suits your physical attributes and swing characteristics.
Step 10: Visit a Golf Store or Club Fitter
Armed with your wrist-to-floor measurement and insights from the club sizing charts, it’s time to visit a golf store or club fitter for expert guidance.
Bring your wrist-to-floor measurement
Ensure that you have your wrist-to-floor measurement handy when you visit the golf store or club fitter. This measurement will help the professionals understand your specific needs and provide better recommendations tailored to your swing.
Ask for assistance in selecting the right golf club length for your swing
When you arrive at the golf store or club fitter, don’t hesitate to ask for assistance. Explain your wrist-to-floor measurement and the club length recommendation from the sizing chart. The professionals will guide you through choosing the right golf club length that optimizes your swing and enhances your performance on the golf course.
By following this step-by-step guide, you can accurately measure your wrist-to-floor length for golf and make informed decisions about selecting the right club length for your swing. Remember, having a properly fitted golf club can significantly contribute to improving your gameplay, so invest the time and effort to find the perfect fit. Happy golfing!