We may earn money or products from the companies that may be mentioned in this post.
If you’re a proud owner of a golf cart, you probably know the importance of a fully charged battery for a smooth and enjoyable ride. It can be frustrating when your battery starts running low, but fear not, because we’ve got you covered! In this article, we’ll show you five easy steps to charge your golf cart battery. With these simple instructions, you’ll be back on the green in no time, experiencing the thrill of a fully charged ride. So, let’s get started and ensure that your golf cart battery is always ready for action!

Step 1: Prepare Your Golf Cart
Before you begin the charging process, it is essential to prepare your golf cart to ensure a safe and effective charging experience. Follow these three simple steps to get started:
Ensure a Safe Charging Environment
To ensure the safety of yourself and others around you, it is crucial to charge your golf cart battery in a safe environment. Find a well-ventilated area with a flat surface. Avoid charging near flammable materials or in extreme temperatures. Creating a safe charging environment is the first step towards a successful charging process.
Park Your Golf Cart
Before connecting the charger, park your golf cart in a designated area. Make sure the cart is on a level surface and engage the parking brake. This will prevent any unwanted movements during the charging process, keeping both you and your golf cart safe.
Turn Off All Electrical Accessories
To prevent any interference with the charging process, it is important to turn off all electrical accessories on your golf cart. This includes headlights, taillights, radio, and any other accessory that may drain the battery. By turning off these accessories, you can ensure that the battery is solely focused on receiving a complete charge.
Step 2: Check the Battery
Now that your golf cart is prepared for charging, it’s time to check the battery itself. Follow these steps to ensure the battery is in good condition before proceeding with the charging process.
Locate the Battery Compartment
The first step in checking your golf cart battery is to locate the battery compartment. Depending on the make and model of your golf cart, the battery compartment may be located in different areas. Common areas include under the seat, in the front or rear of the cart, or in a specific battery compartment at the back.
Inspect the Battery Terminals
Once you have located the battery compartment, inspect the battery terminals. The terminals are the metal connections on top of the battery. Make sure they are clean, free from corrosion, and securely connected to the battery. Corrosion can hinder the charging process, so it’s important to clean the terminals if necessary.
Clean any Corrosion
If you notice any corrosion on the battery terminals, it is important to clean them before proceeding with the charging process. Use a mixture of baking soda and water to create a paste. Apply this paste to the corroded areas and scrub gently with a wire brush. Once the corrosion is removed, rinse the terminals with clean water and dry them thoroughly.
Check the Battery Water Level
Some golf cart batteries require regular maintenance of the water level. Check your battery to see if water needs to be added. If it does, carefully remove the battery caps and add distilled water to the appropriate level. Be careful not to overfill the cells, as this can lead to electrolyte leakage and potential damage to the battery.

Step 3: Connect the Charger
Now that you have inspected and prepared the battery, it’s time to connect the charger. Follow these steps to ensure a proper connection and a successful charging process.
Choose the Appropriate Charger
Not all chargers are created equal. It’s important to choose the appropriate charger for your golf cart battery. Refer to the manufacturer’s recommendations or consult your golf cart manual to determine the correct charger for your specific battery type and voltage.
Position the Charger
Once you have the correct charger, position it near the golf cart battery. Ensure that the charger cables are long enough to reach the battery terminals without straining or bending. This will ensure a secure and stable connection, reducing the risk of any damage or interruptions during the charging process.
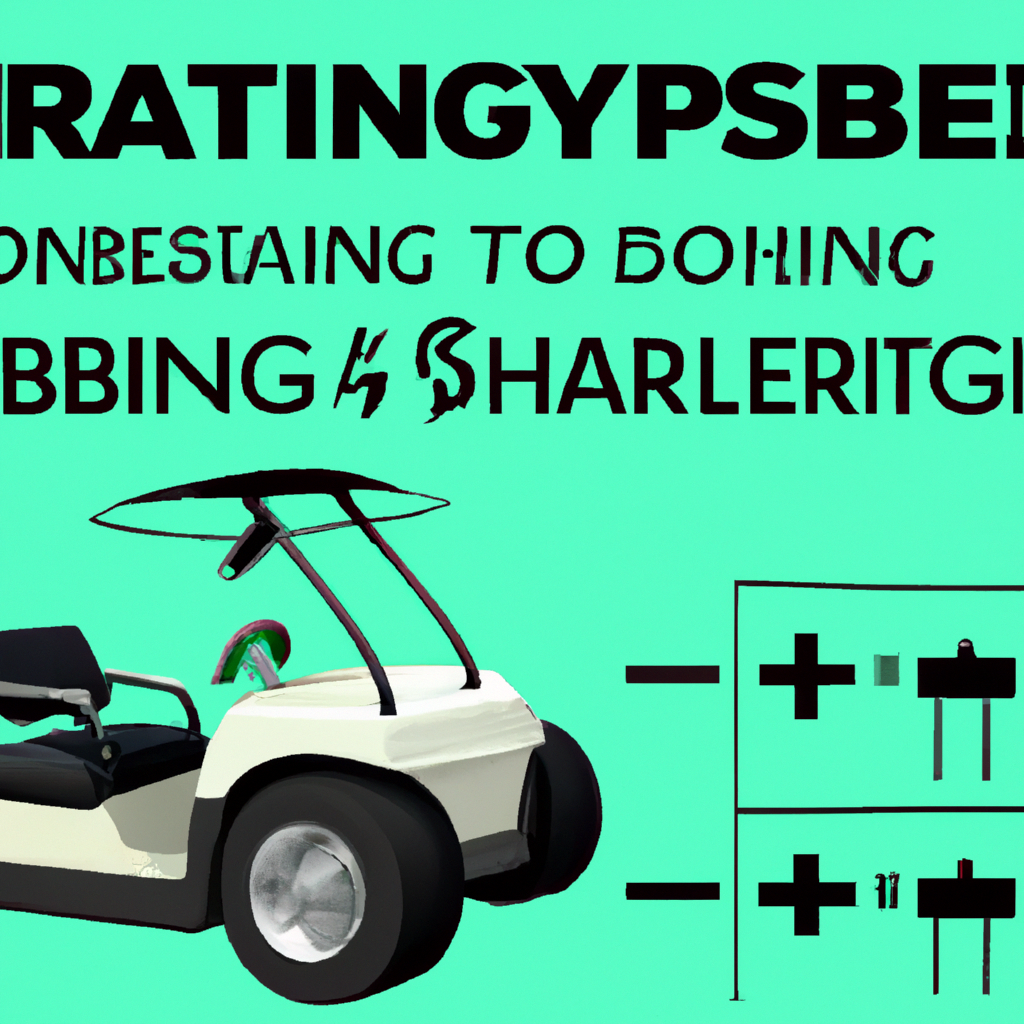
Connect the Charger to the Battery
With the charger in position, it’s time to connect it to the battery. Start by connecting the positive charger clamp, usually color-coded red, to the positive terminal of the battery. Then, connect the negative charger clamp, usually color-coded black, to the negative terminal of the battery. Make sure the clamps are securely attached to the terminals to establish a proper connection.
Double-Check the Connections
Before proceeding, it is crucial to double-check the connections. Ensure that the charger clamps are securely attached to the battery terminals. Loose connections can result in an inefficient charging process or even damage the battery. Take a moment to verify the connections to guarantee a smooth charging experience.
Step 4: Set the Charging Parameters
Now that the charger is connected, it’s time to set the charging parameters. Different golf cart batteries require specific charging settings to ensure optimal performance and longevity. Follow these steps to adjust the charging parameters accordingly.
Refer to the Battery Specifications
To determine the appropriate charging parameters, refer to the battery specifications provided by the manufacturer. This information typically includes the recommended charging voltage, amperage, and charging time. Consult the battery specifications to ensure you select the correct settings for your specific battery.
Adjust the Charging Voltage
Using the charger’s voltage adjustment settings, set the charging voltage to match the recommended voltage for your golf cart battery. This ensures that the battery receives the appropriate level of voltage during the charging process, preventing any potential damage or undercharging.
Select the Correct Amperage
Next, select the appropriate amperage setting on the charger. Amperage determines the rate at which the battery charges. Follow the battery specifications to determine the correct amperage for your specific battery. Selecting the correct amperage setting ensures a safe and efficient charging process.
Set the Charging Time
Lastly, set the charging time according to the manufacturer’s recommendations. This ensures that the battery is charged for the appropriate duration, allowing it to reach its full capacity without the risk of overcharging. Set the charging time accurately to achieve optimal performance and longevity for your golf cart battery.
Step 5: Monitor the Charging Process
With the charging parameters set, it’s time to monitor the charging process. Keeping an eye on the process ensures a safe and effective charge. Follow these steps to effectively monitor the charging process.
Switch on the Charger
Start by switching on the charger. This activates the charging process and allows the battery to receive the necessary charge. Ensure that the charger is securely connected to the power source and is functioning properly.
Observe the Charge Indicator
Most chargers come equipped with a charge indicator light or display. This provides valuable information about the charging status. Keep an eye on the charge indicator throughout the charging process to monitor its progress. Pay attention to any warning lights or changes in the indicator that may signal an issue.
Keep an Eye on the Charging Time
During the charging process, it is important to keep track of the charging time. Refer to the previously set charging time and monitor the progress against the expected completion time. This allows you to ensure that the battery is receiving the appropriate charge and prevents any risk of overcharging.
Ensure Proper Ventilation
While the charging process is underway, it is essential to ensure proper ventilation in the charging area. Some chargers or batteries may produce gases during the charging process, which need to be properly ventilated to avoid any potential hazards. Keep windows or doors open and avoid charging in enclosed spaces.
Tips and Precautions
To ensure a safe and effective charging process for your golf cart battery, consider the following tips and precautions:
Use a Dedicated Golf Cart Battery Charger
Using a dedicated golf cart battery charger is crucial in maintaining the battery’s performance and longevity. These chargers are specifically designed for golf cart batteries and provide the necessary charging parameters for optimal results.
Avoid Overcharging
Overcharging can lead to battery damage, reduced performance, and shortened battery life. Adhere to the recommended charging parameters and avoid leaving the battery on charge for longer than necessary. Once the battery reaches its full charge, disconnect the charger promptly.
Regularly Check the Battery
Regularly inspecting and maintaining your golf cart battery is essential for optimal performance. Check the battery terminals for corrosion, monitor the water level (if applicable), and ensure that the battery is clean and free from dirt or debris.
Follow Manufacturer’s Recommendations
Always follow the manufacturer’s recommendations and guidelines when it comes to charging and maintaining your golf cart battery. The manufacturer has the best knowledge of the specific battery requirements and can provide the necessary instructions to ensure its longevity and performance.
Be Cautious with Acidic Battery Fluid
Golf cart batteries contain acidic electrolytes, which can be harmful if mishandled. Exercise caution when working with the battery, wear protective gloves and goggles, and avoid contact with the battery fluid. In case of accidental contact, rinse the affected area with water immediately.
Do Not Interfere with the Charging Process
Once the charging process has begun, it is important not to interfere with it. Do not disconnect or move the charger, adjust the charging parameters, or touch any exposed wires. Any interference can disrupt the charging process and potentially damage the battery or other components of the golf cart.
Common Troubleshooting
While charging your golf cart battery, you may encounter some issues or face challenges. Here are some common troubleshooting tips to help you overcome these obstacles:
Charger Does Not Start
If the charger does not start when connected to the battery, check the power source and ensure it is functioning correctly. Verify that the charger is securely connected to the power outlet and that there are no loose connections or damaged cables.
Charger Shuts Off Prematurely
If the charger shuts off before the battery reaches its expected charge, check the charging parameters and make sure they are set correctly. Ensure that the charger is compatible with your golf cart battery and consult the manufacturer’s recommendations for troubleshooting specific shutdown issues.
Battery Not Holding a Charge
If your golf cart battery is not holding a charge, it may indicate an underlying issue with the battery itself. Inspect the battery for any signs of damage or deterioration. Consider having a professional check the battery or consult the manufacturer for further guidance.
Slow Charging
If the charging process is significantly longer than expected, it may be due to a low amperage setting or a problem with the charger. Verify that the amperage setting is appropriate for your battery and ensure that the charger is functioning correctly. If the issue persists, it may be necessary to seek professional assistance.
Charger Overheating
If the charger becomes excessively hot during the charging process, it may indicate a malfunction or an incompatible charger. Disconnect the charger immediately and allow it to cool down. Consult the manufacturer’s recommendations or seek professional assistance to diagnose and resolve any issues related to charger overheating.
Conclusion
Properly maintaining and charging your golf cart battery is essential for optimal performance and longevity. By following these five easy steps and adhering to the recommended charging parameters, you can ensure a safe and effective charging process. Remember to monitor the charging process diligently, keep an eye on the battery, and follow the manufacturer’s recommendations. With regular maintenance and care, your golf cart battery will provide reliable power for many rounds of golf.