We may earn money or products from the companies that may be mentioned in this post.
If you’re an avid golfer and rely on your golf cart for a smooth and enjoyable game, then ensuring that your golf cart charger is fully charged is crucial. But how can you be certain that it’s at its maximum capacity? Understanding what your golf cart charger should read when fully charged is key to ensuring its optimal performance and longevity. In this article, we will explore the different ways to check if your golf cart charger has reached its full potential, allowing you to confidently hit the course worry-free.
How to Check If Your Golf Cart Charger Is Fully Charged
Greetings golf cart enthusiasts! If you’re wondering how to determine if your golf cart charger is fully charged, you’re in the right place. In this comprehensive article, we’ll guide you through the process of checking your charger’s status, explain various indications of a fully charged golf cart charger, and provide helpful tips and troubleshooting advice. So, let’s dive in and ensure you’re equipped with the knowledge to keep your golf cart charger in top-notch condition!

Understanding the Charging Process
Before we begin, it’s important to understand how the charging process works. Golf cart chargers typically utilize a constant current and voltage charging method. Initially, the charger will provide a higher current to replenish the battery’s charge, gradually reducing it as the battery levels rise. Once the battery reaches its maximum capacity, the charger transitions into a maintenance or “trickle” mode to prevent overcharging.
Indications of a Fully Charged Golf Cart Charger
There are several ways to determine if your golf cart charger is fully charged. Here are some common indications to look out for:
Voltage Level: The most common method is to measure the voltage of the battery using a voltmeter. A fully charged golf cart battery typically reads between 38 to 42 volts, depending on the manufacturer and battery type.
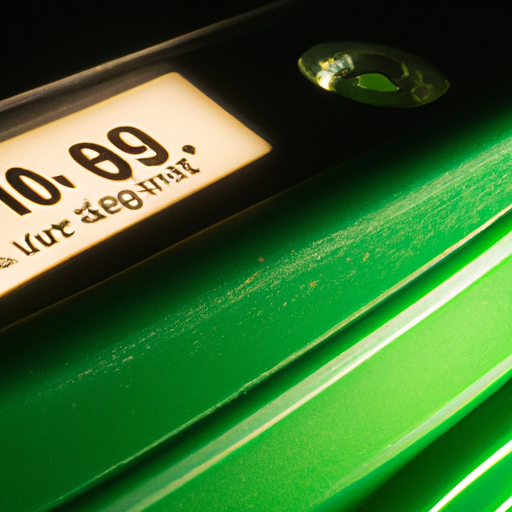
LED Indicators: Many golf cart chargers are equipped with LED indicators that provide a visual representation of the charging status. These LEDs may change color or blink to indicate a fully charged battery.
Using a Voltmeter to Check the Charger’s Voltage
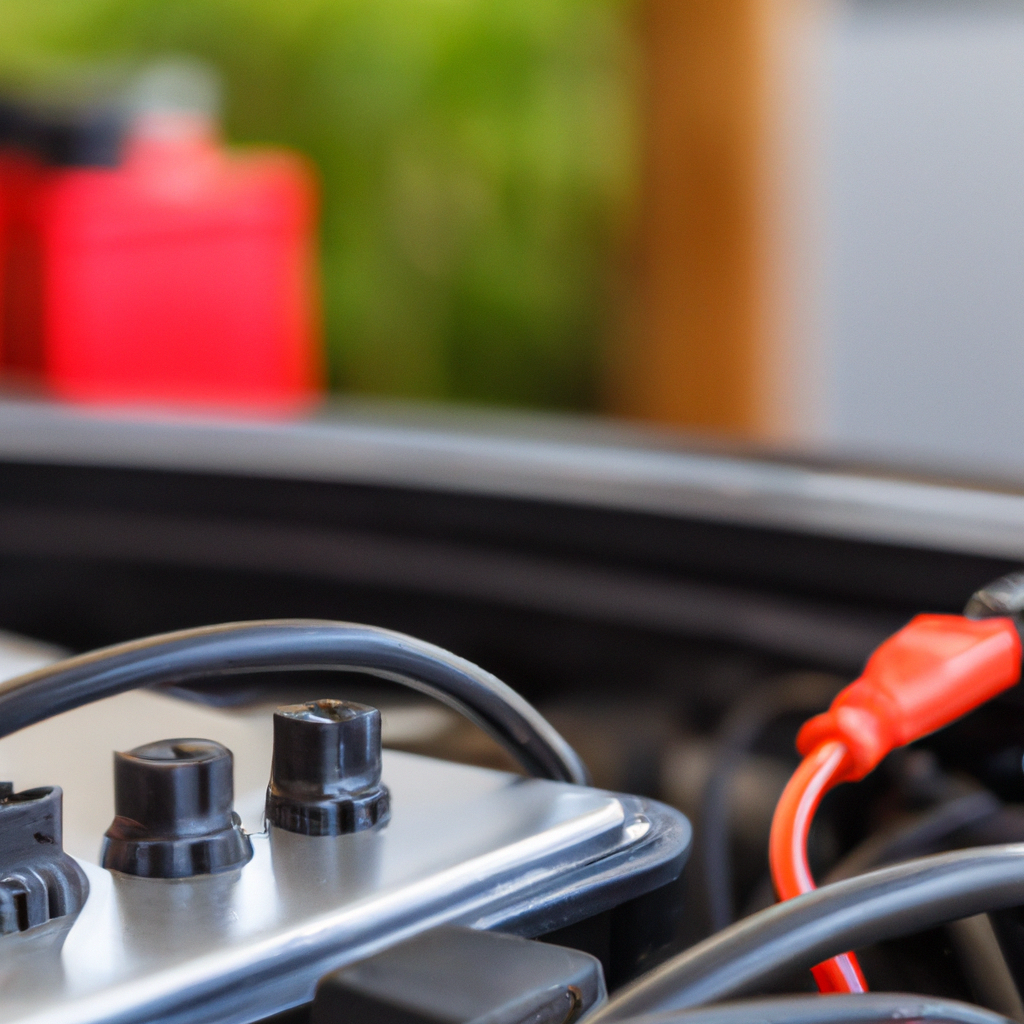
To check the voltage of your golf cart charger, you can use a voltmeter. Start by connecting the voltmeter’s positive lead to the battery’s positive terminal and the negative lead to the negative terminal. Ensure the charger is disconnected from the power source before proceeding. If the voltmeter reading falls within the range mentioned earlier (38 to 42 volts), your charger is likely fully charged.

Observing the Charger’s LED Indicators
Many chargers feature LED indicators that provide a quick and convenient way to determine the charging status. Typically, there are different colors or blinking patterns associated with specific charging stages. Refer to your charger’s manual to understand what each color or pattern signifies. When the LED indicator displays a steady green light, it’s a strong indicator that your golf cart charger has completed the charging process.
Consulting the Manufacturer’s Manual
Each golf cart charger may have unique features and functionalities. Hence, it’s advisable to consult the manufacturer’s manual for accurate information regarding the charging process and indications of a fully charged battery. The manual will also provide specific details on how to interpret LED indicators and any other unique features your charger may possess.
Factors Affecting the Charging Time
The time required to fully charge your golf cart battery can depend on various factors, including the battery’s state of charge, overall battery health, charger capacity, and the rate at which the charger replenishes the battery. It’s crucial to bear in mind that factors such as low ambient temperature or a heavily discharged battery may prolong the charging time. Regular maintenance and keeping your batteries in optimal condition can help ensure efficient and timely charging.
The Importance of Regular Maintenance
Regular maintenance is vital to prolong the lifespan of your golf cart charger and battery. Keeping the charger and battery clean, free from corrosion, and regularly inspecting cables for any signs of damage or fraying ensures proper performance. Additionally, conducting routine maintenance checks, such as verifying input/output voltage and addressing any issues promptly, will significantly contribute to maximizing the charger’s efficiency.
Ensuring Proper Storage of the Golf Cart Charger
When your golf cart charger is not in use for an extended period, it’s essential to ensure proper storage to maintain its effectiveness. Store the charger in a cool, dry place away from direct sunlight or excessive heat. Additionally, maintain a clean surrounding area to prevent any debris or flammable materials from coming into contact with the charger, which could potentially lead to a safety hazard.
Signs of a Malfunctioning Charger
Occasionally, you may encounter issues where your golf cart charger fails to charge or behaves abnormally. Some signs that suggest a malfunctioning charger include:
No LED indicators: If the charger fails to display any LED indicators or exhibits no response when plugged in, there may be an issue with the charger’s internal circuitry.
Erratic charging behavior: If the charger’s LED indicators flicker or change colors rapidly, it could indicate a problem with the charger’s control board or connection.
If you experience any of these issues or suspect your charger is malfunctioning, it’s best to contact a professional or the manufacturer’s customer support for assistance.
Addressing Common Charging-Related Issues
In some instances, you may experience common charging-related issues that can be resolved without professional intervention. Here are some troubleshooting tips:
Check connections: Ensure all connections between the charger, battery, and power source are secure and free from corrosion or debris.
Reset charger: If your charger possesses a reset button, try pressing it to reset the charger and potentially resolve minor issues.
Verify power source: Confirm that the power source is functioning correctly by testing it with another device or utilizing a different outlet.
If these steps do not rectify the issue, reaching out to a professional or the golf cart charger manufacturer’s customer support is recommended to prevent further damage.
By familiarizing yourself with the charging process and understanding the indications of a fully charged golf cart charger, you’ll ensure your beloved golf cart is always ready to hit the fairway with optimal power. Remember to prioritize regular maintenance, consult the manufacturer’s manual, and address any concerning issues promptly to prolong the life of your charger. So, grab your clubs and hit the greens confidently, knowing your golf cart charger is fully charged!
