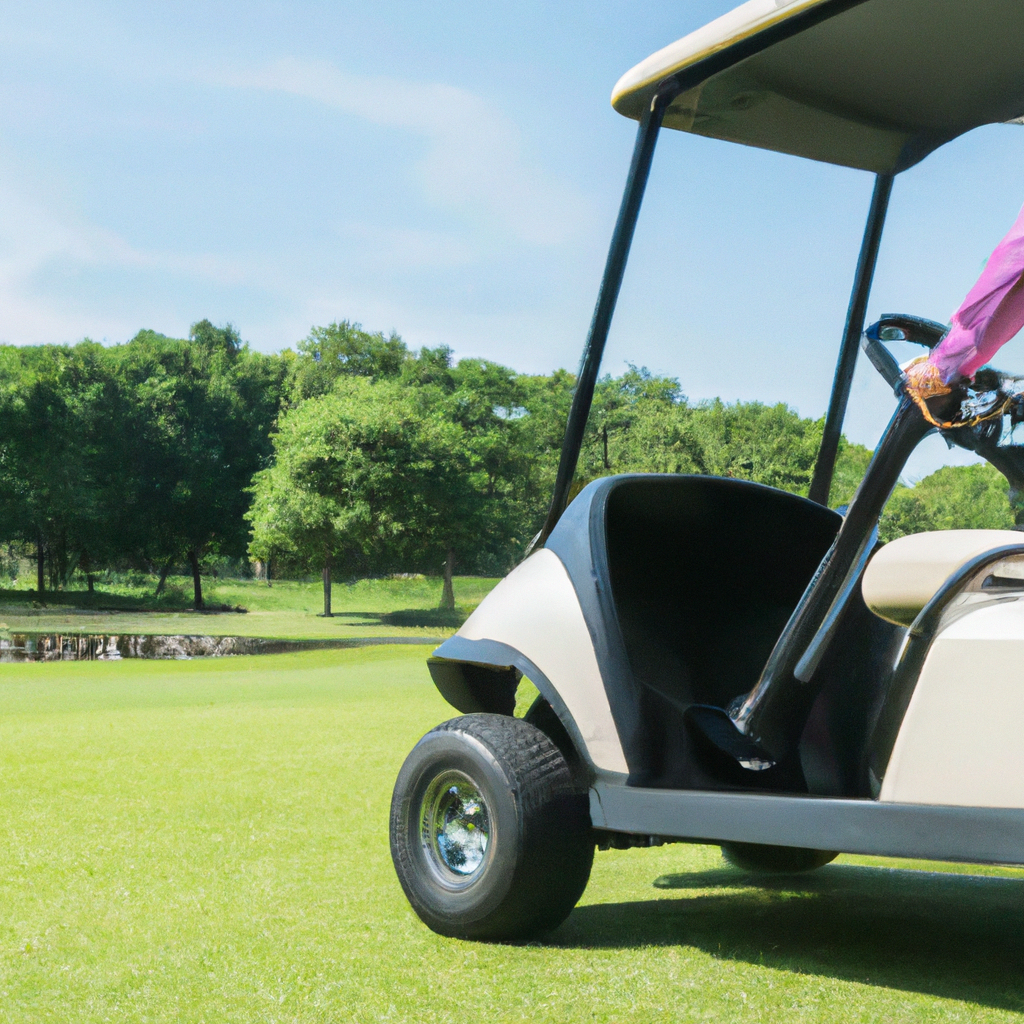
Picture this: you’re out on a beautiful sunny day, ready to hit the golf course and enjoy a relaxing round of golf. The only problem is, your trusty golf cart won’t start. Frustration may start to set in, but fear not! In this article, we will guide you through the simple steps you need to take to start your golf cart and get your day back on track. Whether you’re a seasoned golfer or just starting out, knowing how to start your golf cart is a crucial skill that will ensure your game goes smoothly. So let’s get started and make sure you’re ready to hit the course in no time.
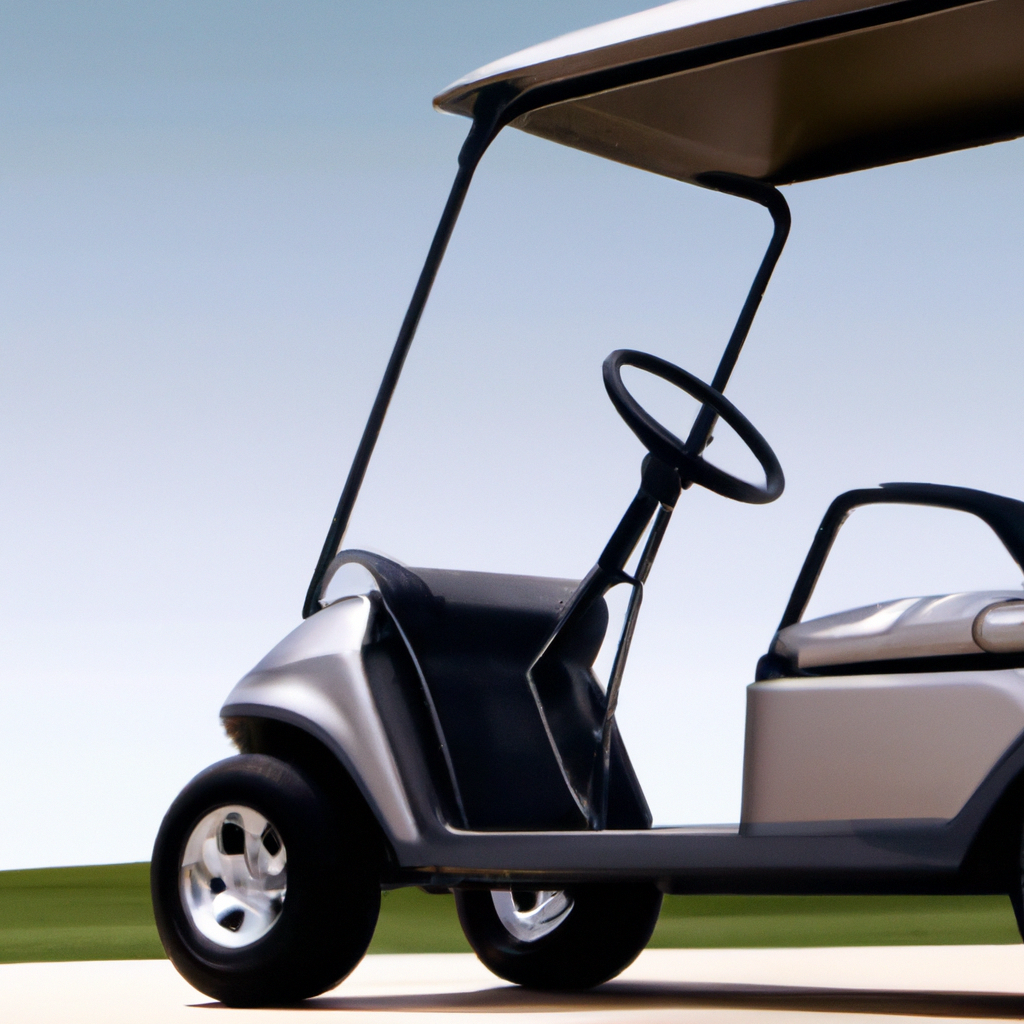
How to Start Your Golf Cart
If you’re eager to get out on the golf course or simply take a leisurely ride around your neighborhood, it’s important to know how to start your golf cart properly. By following a few simple steps, you can ensure a smooth and hassle-free start every time. Whether you’re a new owner or just need a refresher, this comprehensive guide will walk you through the process in a friendly and easy-to-understand manner.

Preparation
Before you start your golf cart, it’s crucial to perform a quick inspection to ensure everything is in order. Taking a moment to check the battery, fuel level, seat, parking brake, and for any obstructions will help prevent any unexpected issues from arising.
Check the battery
First, inspect the battery to ensure it has enough power. If it appears to be low, consider charging it before starting the cart to avoid any potential interruptions during your ride.
Inspect the fuel level
Next, take a look at the fuel gauge to ensure you have enough gasoline for your intended trip. It’s always a good idea to keep the tank filled to prevent running out of fuel mid-ride.
Adjust the seat
Comfort is key when operating a golf cart. Adjust the seat to a position that feels comfortable for you, allowing for easy access to the pedals and controls. This will enhance your overall driving experience.
Ensure the parking brake is engaged
Before starting the cart, make sure the parking brake is engaged. This will prevent the cart from rolling unexpectedly and ensure your safety.
Check for any obstructions
Finally, take a quick walk around your golf cart to check for any obstructions in the path or on the seat. By doing so, you can prevent any mishaps or damage to the cart.
Starting Procedure
Once you’ve completed the necessary preparations, you’re ready to start your golf cart. Follow these steps to ensure a successful and smooth start every time.
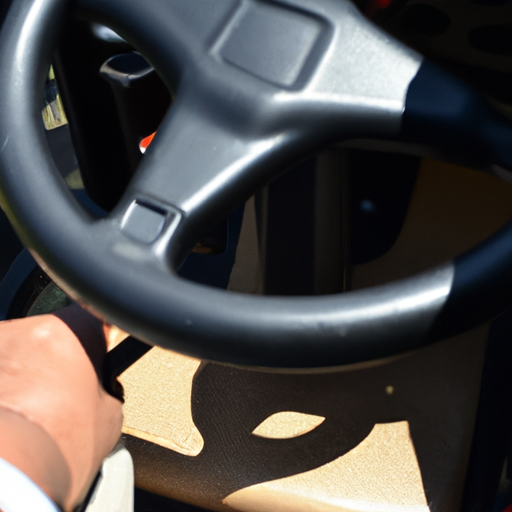
Insert the key into the ignition
Locate the ignition switch and insert the key. Ensure the key is fully inserted and turned to the ‘On’ position.
Turn the key to the ‘On’ position
Once the key is in the ‘On’ position, you’ll notice that the cart’s lights and accessories will turn on. This indicates that the golf cart’s electrical system is functioning properly.
Press down on the brake pedal
To engage the starter, press down on the brake pedal firmly. This ensures that the cart remains stationary while you start the engine.
Engage the choke (if applicable)
If your golf cart is equipped with a choke, engage it before starting the engine. The choke helps to enrich the fuel-air mixture, especially when the engine is cold.
Turn the key to the ‘Start’ position
With your foot firmly on the brake pedal, turn the key to the ‘Start’ position. The cart’s engine should start revving, indicating a successful start.
Release the key after engine starts
Once the engine has started, release the key. It will automatically return to the ‘On’ position, allowing the engine to continue running smoothly.
Allow the engine to warm up
To ensure optimal performance, it’s important to allow the engine to warm up for a few minutes. This will help lubricate its components and prepare it for your ride.
Troubleshooting
Occasionally, you may encounter issues when starting your golf cart. Here are some troubleshooting tips to help you identify and address common problems.
Check battery connections
If your cart is not starting, the first thing to check is the battery connections. Ensure that they are secure and free from corrosion. Cleaning any buildup or tightening loose connections may resolve the issue.
Ensure fuel valve is open
If the engine fails to start or sputters, check that the fuel valve is open. A closed or partially closed valve can restrict fuel flow and prevent the engine from running smoothly.
Inspect spark plugs
Faulty or dirty spark plugs can cause the engine to misfire or not start at all. Inspect the spark plugs for signs of wear or buildup. Cleaning or replacing them as needed can improve engine performance.
Check ignition switch
If you’re experiencing intermittent or no power when turning the key, the ignition switch may be faulty. Inspect the switch for any signs of damage or wear and consider replacing it if necessary.
Verify safety interlock switches
Many golf carts are equipped with safety interlock switches that prevent the engine from starting in certain situations, such as when the parking brake is not engaged or the seat is not occupied. Double-check these switches to ensure they are functioning correctly.

Maintenance
Regular maintenance is essential to keep your golf cart running smoothly and ensure its longevity. By following a few routine tasks, you can avoid potential issues and maximize the lifespan of your cart.
Regularly charge the battery
To maintain a healthy battery, it’s important to regularly charge it, especially during periods of inactivity. Follow the manufacturer’s recommendations for charging frequency to prevent battery degradation.
Keep fuel tank filled
Maintaining a consistent level of gasoline in the fuel tank can prevent moisture buildup and the formation of sediment. This helps keep the engine running smoothly and reduces the risk of clogs.
Clean air filter
A clean air filter allows for proper airflow to the engine, preventing dust and debris from entering. Regularly inspect and clean or replace the air filter as needed to ensure optimal performance.
Inspect and replace spark plugs
Over time, spark plugs can wear out or become dirty, leading to engine performance issues. Regularly inspect the spark plugs and replace them when necessary to maintain smooth and efficient operation.
Check tire pressure
Properly inflated tires not only provide a smoother ride but also contribute to the overall stability and control of the golf cart. Regularly check the tire pressure and adjust as needed to ensure optimal performance.
Safety Tips
When operating a golf cart, safety should always be a top priority. Follow these safety tips to ensure a secure and enjoyable ride for both you and your passengers.
Always wear a seatbelt
Just like when driving a car, wearing a seatbelt in a golf cart is crucial for your safety. Securely fasten your seatbelt before driving to reduce the risk of injury in the event of a sudden stop or collision.
Observe speed limits
Different areas may have specific speed limits for golf carts. It’s important to adhere to these speed limits to maintain control and reduce the risk of accidents.
Use turn signals when necessary
If your golf cart is equipped with turn signals, use them whenever you need to make a turn or change lanes. This helps ensure that other drivers or golfers are aware of your intentions.
Avoid steep inclines or declines
Golf carts are not designed to handle steep inclines or declines safely. Always avoid these terrains to prevent potential accidents or damage to the cart.
Keep hands and feet inside the cart
To prevent accidents and injuries, keep your hands and feet inside the cart at all times. Avoid sticking limbs out or placing them near moving parts of the cart.
Upgrading Your Golf Cart
If you’re looking to enhance the performance, comfort, or functionality of your golf cart, here are some popular upgrades to consider.
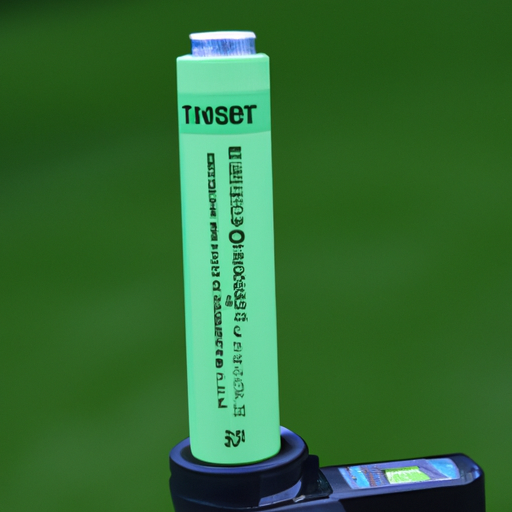
Upgrade to lithium batteries
Lithium batteries offer several benefits over traditional lead-acid batteries, including longer lifespan and quicker charging times. Consider upgrading to lithium batteries to improve your cart’s range and overall performance.
Install a rearview mirror
Adding a rearview mirror to your golf cart can greatly enhance your visibility and safety. It allows you to see vehicles or golfers approaching from behind, reducing the risk of collisions.
Add headlights and taillights
Installing headlights and taillights on your cart is not only essential for safety during nighttime driving but also adds a stylish touch. Bright lights ensure excellent visibility, allowing you to navigate in low-light conditions with ease.
Upgrade tires and rims
Upgrading your golf cart’s tires and rims can improve its traction, handling, and overall ride quality. Choose tires with the appropriate tread pattern for your desired terrain and opt for stylish rims to enhance the cart’s appearance.
Install a stereo system
If you enjoy listening to music while cruising around, consider adding a stereo system to your golf cart. This allows you to play your favorite tunes and enhance your overall driving experience.
Driving Etiquette
When using your golf cart on the golf course or in your community, it’s important to follow proper driving etiquette. By respecting others and adhering to specific guidelines, you can ensure a pleasant experience for everyone.
Yield to pedestrians
As a golf cart driver, it’s important to yield to pedestrians on both the golf course and public paths. Slow down or stop to allow individuals to cross safely, and always be mindful of their presence.
Keep a safe distance from other carts
Maintaining a safe following distance from other golf carts is crucial to prevent collisions. Give yourself ample space to react to sudden stops or maneuvers by keeping a safe distance from the cart in front of you.
Follow specified paths
If you’re using your golf cart on designated paths or trails, be sure to stay within the boundaries and respect any posted rules or signs. This prevents unnecessary damage to the cart and promotes a harmonious environment for all users.
Avoid distractions while driving
To maintain focus and ensure your safety, avoid distractions while operating your golf cart. This includes refraining from using your phone, adjusting the stereo, or engaging in any activity that takes your attention away from the road.
Be courteous to other golfers
When playing golf or using the cart on a golf course, always be considerate of other golfers. Avoid driving through fairways, stay quiet when near players, and be mindful of the pace of play to maintain a positive atmosphere for all.
Storing Your Golf Cart
Proper storage is essential to keep your golf cart in excellent condition during periods of inactivity. Follow these steps to ensure your cart remains in top shape when not in use.
Park in a dry, covered area
Whenever possible, park your golf cart in a dry, covered area to protect it from the elements. This prevents rusting, fading of the paint, and damage caused by exposure to rain, sun, or snow.
Disconnect the battery
To preserve the battery’s charge and prevent unnecessary draining, disconnect it during long periods of storage. This helps maintain the battery’s lifespan and ensures it is ready for use when needed.
Fill up the gas tank
Before storing your cart, fill up the gas tank to prevent moisture buildup and the formation of sediment. Add a fuel stabilizer to maintain the quality of the gasoline during the storage period.
Check tire pressure before storing
Before storing your golf cart, check the tire pressure and adjust it as necessary. Over time, tires can lose air, and maintaining the appropriate pressure prevents flat spots and improves their lifespan.
Cover the cart to protect it from dust
Lastly, cover your golf cart with a specifically designed cover to protect it from dust, dirt, and debris. This prevents unnecessary wear and tear and keeps the cart looking clean and presentable.
Legal Considerations
When operating a golf cart, it’s essential to comply with all relevant laws and regulations. Here are some legal considerations to keep in mind.
Verify local regulations
Different areas may have specific regulations regarding golf cart usage. Research and familiarize yourself with the local laws to ensure compliance and avoid potential fines or penalties.
Obtain necessary permits or licenses
In some areas, you may need permits or licenses to operate a golf cart legally. Check with the local authorities to determine if you need any special documentation before driving your cart.
Comply with any age restrictions
Certain jurisdictions may impose age restrictions for operating a golf cart. Ensure that you meet the minimum age requirement before driving to avoid legal consequences.
Ensure proper insurance coverage
Although not always required, obtaining proper insurance coverage for your golf cart is highly recommended. This protects you financially in case of accidents, theft, or damage to the cart.
Follow designated golf cart routes
When driving your golf cart on the golf course, it’s important to stay on designated paths and routes. Doing so not only protects the course from unnecessary damage but also ensures the safety of other golfers.
Common Issues and Solutions
Despite proper maintenance and care, occasional issues may arise with your golf cart. Here are some common problems and their respective solutions to help you address them quickly and effectively.
Cart not starting: check battery voltage
If your golf cart fails to start, the first thing to check is the battery voltage. Ensure it has enough charge to power the cart. If the battery is low, recharge it or consider replacing it if necessary.
Engine running rough: clean carburetor
If the engine is running rough or sputtering, the carburetor may be clogged with debris or varnish buildup. Clean the carburetor and its components to restore optimal fuel flow and combustion.
Charging problems: inspect charger connections
If you’re experiencing issues with charging the battery, inspect the charger connections. Ensure they are clean, secure, and properly connected to the battery and charging port.
Brakes not working: check brake fluid level
If your golf cart’s brakes are not working properly, check the brake fluid level. Low fluid levels can lead to decreased braking performance. Refill or change the brake fluid if necessary.
Strange noises: inspect belt and pulleys
Unusual noises coming from your golf cart may indicate belt or pulley issues. Inspect these components for wear, damage, or misalignment. Adjust or replace them as needed to eliminate the noise.
By following these steps and guidelines, you can confidently start your golf cart and enjoy a smooth and safe ride every time. Remember to prioritize safety, regularly maintain your cart, and comply with all applicable laws and regulations. With proper care and attention, your golf cart will provide you with countless hours of enjoyment on the course or around your community. Happy driving!