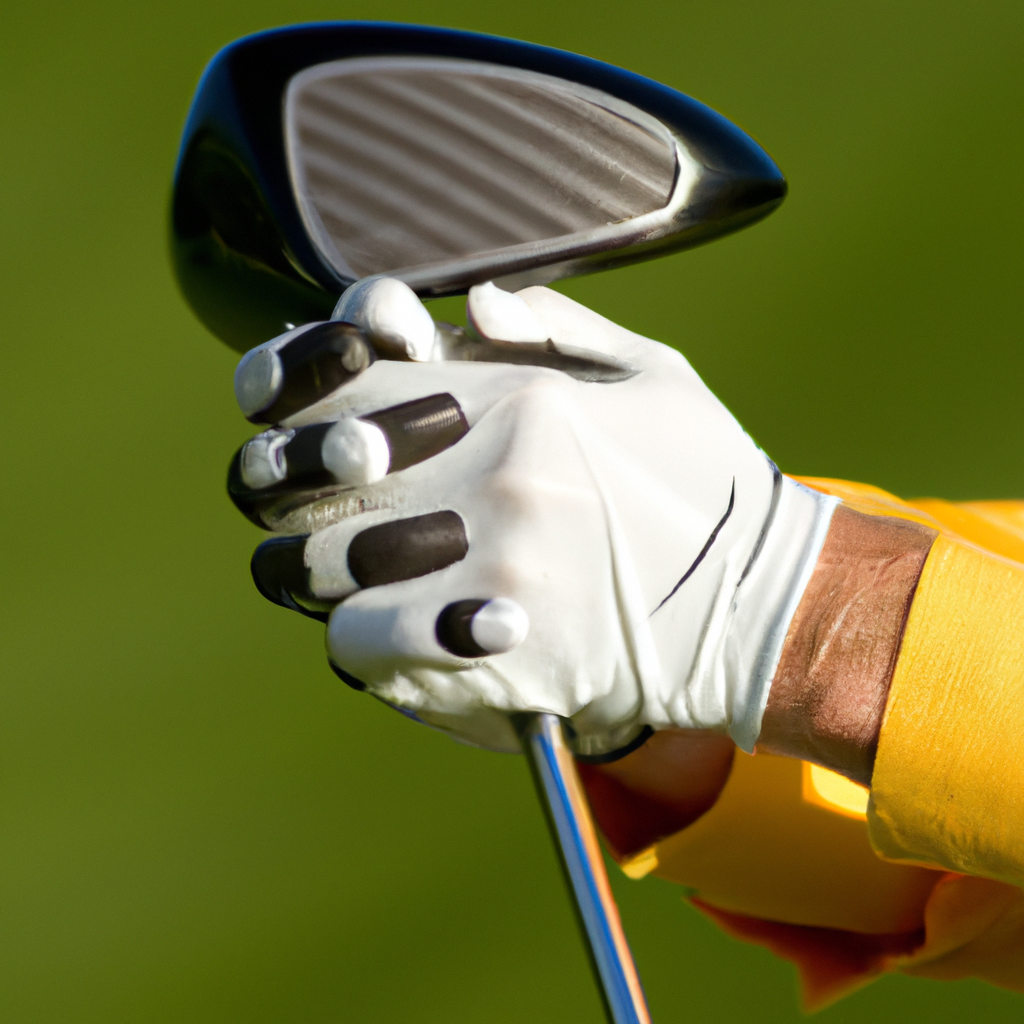
If you’re a golf enthusiast looking to improve your game, one essential aspect to consider is the condition of your golf clubs. Over time, the grips on your clubs can wear out and lose their effectiveness, resulting in compromised control and reduced performance. In this article, you will find a comprehensive step-by-step guide on how to re-grip your golf clubs, allowing you to save money and ensure optimal performance on the course. Whether you’re a seasoned golfer or a beginner, this guide will equip you with the knowledge and skills needed to maintain the quality of your golf clubs and enhance your overall golfing experience. So, let’s dive in and discover the art of re-gripping golf clubs.
How to Re-grip Golf Clubs: A Step-by-Step Guide
If you’ve noticed that the grips on your golf clubs are worn out or not providing you with the necessary grip, it may be time to re-grip them. Re-gripping your golf clubs is an important part of maintaining your equipment and ensuring optimal performance on the course. In this comprehensive guide, we will walk you through the step-by-step process of re-gripping your golf clubs. So let’s get started!

Preparation
Before you begin the re-gripping process, it’s essential to gather the necessary materials. You will need the following items:
Gather necessary materials
- New golf grips
- Grip tape
- Grip solvent
- Razor blade or grip removal tool
- Adhesive remover
- Clean cloth or paper towels
- Grip clamp or air compressor
- Finishing tape or grip cap (optional)
- Golf club vise or sturdy workbench
Once you have gathered all the materials, it’s time to set up your workspace.
Set up your workspace
Find a well-lit and spacious area where you can comfortably work on re-gripping your golf clubs. Make sure you have a sturdy workbench or a golf club vise to secure the club firmly during the process. Having a clean and organized workspace will help you complete the task efficiently.
Removing the Old Grip
To remove the old grip from your golf club, follow these steps:
Secure the club
Place your golf club securely in the vise or workbench, ensuring that it is stable before proceeding with the grip removal.
Cut the old grip
Using a razor blade or a grip removal tool, cut the old grip lengthwise from the top to the bottom. Be cautious not to damage the shaft while cutting the grip.
Remove any tape or adhesive residue
After removing the grip, you may find leftover tape or adhesive residue on the shaft. Gently peel off any old grip tape and use an adhesive remover to clean the shaft surface completely. Wipe off any residue with a clean cloth or paper towel to ensure a smooth grip installation.
Cleaning the Club Shaft
Before installing the new grip, it’s important to clean the club shaft thoroughly. This ensures a clean surface for proper grip adhesion. Follow these steps to clean the club shaft:
Inspect the shaft
Take a closer look at the club shaft and check for any dings, nicks, or rust. If you notice any significant damage, it may be necessary to repair or replace the club before re-gripping.
Clean the shaft surface
Use a clean cloth or paper towel dampened with a mild soap and water solution to wipe down the club shaft. Ensure that all dirt, grime, and oils are removed. Rinse the shaft with clean water and dry it thoroughly before moving on to the next step.
Preparing the Club Grip
Now that the club shaft is clean and ready, it’s time to prepare the new grip. Consider the following factors when preparing your club grip:
Choose the right grip size
Golf grips come in various sizes, so it’s crucial to select one that suits your hand size and grip preference. Grip size affects your swing mechanics and can greatly impact your performance on the course. If you are unsure about the right grip size, consult with a professional club fitter or golf instructor for guidance.
Select the desired grip type
Golf grips come in different materials, textures, and designs. Consider factors such as weather conditions, personal preferences, and playing style when choosing the grip type. Popular grip materials include rubber, corded, and hybrid variations. Experiment with different grip types to find the one that feels comfortable and enhances your performance.
Apply grip tape
Before installing the new grip, apply grip tape to the club shaft. Grip tape helps create a secure bond between the grip and the club. It also helps to layer the grip tape in a way that feels comfortable in your hands. Start from the bottom of the club and wrap the grip tape upwards, overlapping each layer slightly. Cut off any excess tape at the top so that the grip can easily slide over it.

Applying Grip Solvent
Once the grip tape is in place, it’s time to apply grip solvent. Grip solvent acts as a lubricant, allowing you to position and adjust the grip before it dries. Here’s how you can apply grip solvent:
Apply grip solvent to the tape
Pour a small amount of grip solvent onto the exposed grip tape. The solvent should be evenly distributed and cover the entire length of the tape. Be careful not to oversaturate the tape, as excessive solvent can affect the grip’s performance.
Spread the solvent evenly
Using your fingers or a grip brush, spread the grip solvent evenly over the grip tape. This helps to activate the adhesive properties of the tape and makes it easier to slide the grip onto the shaft. Ensure that the solvent is evenly distributed without any excess pooling at the top or bottom of the grip.
Installing the New Grip
With the grip tape and solvent in place, it’s time to install the new grip onto the golf club. Follow these steps for a successful grip installation:
Align the grip
Before sliding the grip onto the shaft, check for any alignment markings on both the grip and the shaft. Align these markings to ensure that the grip is oriented correctly. This step is crucial to maintain proper club face alignment during your swing.
Slide the grip onto the shaft
Place one hand inside the open end of the grip and position your other hand on the top of the grip. Using a steady twisting motion, slide the grip onto the shaft. Be sure to move the grip all the way down until it reaches the end of the shaft.
Position the grip correctly
Once the grip is fully on the shaft, double-check its positioning. Ensure that the grip’s end aligns with the bottom of the shaft or any alignment markings. Make any necessary adjustments by twisting or sliding the grip until it is in the desired position.
Securing the Grip
To ensure that the grip is securely in place, follow these steps:
Remove excess solvent
Use a clean cloth or paper towel to remove any excess grip solvent that may have seeped out of the grip during installation. This allows the grip to dry properly without any slippery residue.
Use grip clamp or air compressor
To facilitate the drying process and create a tight bond between the grip and the tape, you can use a grip clamp or an air compressor. If using a grip clamp, position it at the top of the grip and tighten it gently. Alternatively, you can use an air compressor to blow compressed air into the open end of the grip. This helps to expand the grip, creating a snug fit and accelerating the drying time.
Allow the grip to dry and set
After securing the grip, let it dry and set for a minimum of 24 hours. This allows the adhesive properties of the grip tape to fully bond with the grip and the club shaft. Avoid using the club during this drying period to ensure a strong and long-lasting grip.
Checking and Adjusting
Once the grip is completely dry, it’s important to check for proper alignment and feel. Follow these steps to assess the grip’s performance:
Check for proper alignment and feel
Hold the golf club as you would during a swing and evaluate the grip’s alignment. Ensure that the grip’s alignment markings match your desired hand positioning. Additionally, take note of the grip’s feel in your hands. It should provide a secure and comfortable grip, allowing you to have proper control over the club during your swing.
Make any necessary adjustments
If you find that the grip’s alignment or feel is not optimal, you may need to make some adjustments. Remove the grip by repeating the steps for grip removal, clean the shaft, and start the re-gripping process again. It may take some trial and error to find the perfect grip for your game, so be patient and willing to make adjustments as needed.
Finishing Touches
To complete the re-gripping process, attend to the finishing touches. Follow these steps:
Remove any leftover adhesive residue
After removing the old grip and adhesive residue, there may still be some sticky residue on the shaft. Use an adhesive remover and a clean cloth or paper towel to remove any remaining residue. This ensures a clean and professional appearance.
Clean the grip surface
With a clean cloth or paper towel, wipe down the grip surface to remove any dirt, debris, or excess grip solvent. This final cleaning step ensures that your new grip is ready to perform flawlessly on the golf course.
Add finishing tape or grip cap if desired
If you want to add extra cushioning or customization to your grip, consider adding finishing tape or a grip cap. Finishing tape can be wrapped around the top of the grip to provide additional comfort and support. Alternatively, a grip cap can be added to the end of the grip for a polished look. These finishing touches are optional but can enhance your grip experience.
Troubleshooting
During the re-gripping process, you may encounter some common issues. Here are a few troubleshooting tips and solutions:
Common issues and solutions
Issue: Difficulty sliding the grip onto the shaft. Solution: Ensure that you have applied enough grip solvent and that the grip tape is properly layered. You can also use a grip alignment tool to assist with grip installation.
Issue: Grip feels loose or spins when swinging. Solution: This may indicate insufficient grip tape layers or improper installation. Recheck the grip tape layers, apply more adhesive if necessary, and ensure a secure fit when sliding the grip onto the shaft.
Issue: Excessive grip solvent seeping out during installation. Solution: Be mindful of the grip solvent amount applied. Excess solvent can affect the grip’s adhesion. Use a clean cloth or paper towel to remove any excess solvent before securing the grip.
Issue: Adhesive residue remains on the shaft after old grip removal. Solution: Adhesive remover and a clean cloth or paper towel can effectively remove leftover residue. Take care not to damage the shaft surface when cleaning.
Issue: Discomfort or blisters while using the new grip. Solution: The grip size or type may not be suitable for your hands and playing style. Consider re-gripping with a different grip size or material that provides a more comfortable feel.
Congratulations! You have successfully re-gripped your golf club. This process is a crucial aspect of maintaining your golf equipment and ensuring peak performance on the golf course. Remember, practicing good equipment maintenance leads to a better golfing experience and improved playability.
Conclusion
Re-gripping your golf clubs may seem like a daunting task, but with the right materials and a step-by-step approach, you can easily accomplish it. By following the comprehensive guide we’ve provided, you are now equipped with the knowledge to successfully re-grip your golf clubs, ensuring comfort, control, and optimal performance during your rounds. So go ahead and give your golf clubs the makeover they deserve – your game will thank you!
Note: The cost of re-gripping golf clubs can vary depending on factors such as the grip type, quality, and additional services offered by professional club fitters. It’s advisable to research local golf stores or consult with professionals to get an accurate estimate of the cost involved.